Wednesday, March 30, 2016

Drapery Fold Flowering Fields


Experiment with Card Folds

Every once in a while, it's good to shake up your card-making routine by using a different technique. This card features an easy fold that allows you to see both sides of your pretty Designer Series Paper. 

Flowering Fields Drapery Fold card

It is called a Drapery Fold or Pleat Fold, and you can find some videos on how it's done on YouTube. 

Try it with your favorite paper! 
This sample shows the Autumn Traditions DSP, which is a retired Stampin' Up! paper from the 2009-2010 Annual Catalog, a card base in Tip Top Taupe, and a Whisper White layer. 

Whichever paper you choose, just color the Flowering Fields flowers with Stampin' Write markers in coordinating colors. Punch them out with the Extra Large Oval punch

Layer the flowers on a coordinating paper die cut with the Stampin' Up! Ovals Framelits. The colors shown here are Perfect Plum, More Mustard, and Always Artichoke.

Punch the Bitty Butterfly in Perfect Plum and adhere it with a Mini Glue Dot. Use the  Curvy Corner Trio Punch to add a pretty detail to the bottom right corner of the Whisper White layer. 

To finish off this card, stamp the banner from Endless Thanks in Always Artichoke, and stamp a sentiment from the same set on the banner in Perfect Plum. Snip out the banner with your Paper Snips and add it to the card with Stampin' Dimensionals.

Now you have a pretty fold to show off your favorite double-sided paper! Why not give it a try today?

Sale-a-Bration continues until March 31st and Flowering Fields could be your free item when you place a $50 qualifying order!


Tuesday, March 29, 2016

It's Not Too Late, But Don't Wait!

Sale-A-Bration Ends Soon


Sale-a-Bration Reward Items

With the great Weekly Deals this week, it will be super easy to earn a free Sale-a-Bration reward. Just choose your favorite items, totaling $50, then pick your reward. Please note: the Metallic Glitter Tape is no longer available.  All Sale-a-Bration items are available WHILE SUPPLY LASTS - so don't miss out on your favorite items by waiting too long!

Stampin' Up! Weekly Deals Are Here

Weekly Deals March 29 - April 4, 2016

 Enjoy this week's Weekly Deals! They are awesome!

138283G


Leaflets Framelits Dies Item # 138283
Regular Price: $25.00 US
Discounted Price: $18.75 US


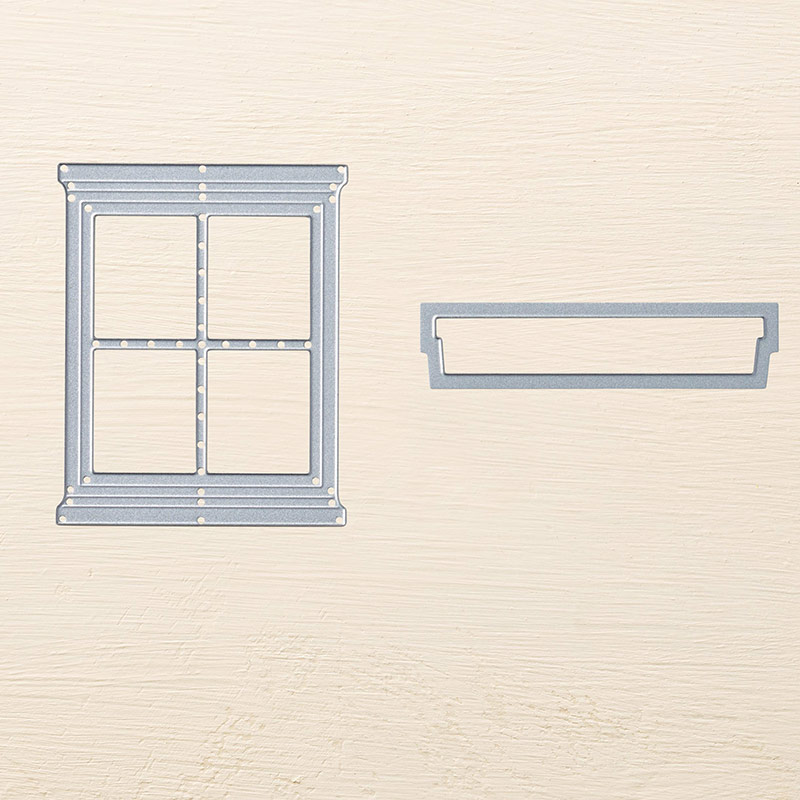
Hearth & Home Thinlits Dies Item # 139666
Regular Price: $20.00 US
Discounted Price: $15.00 US


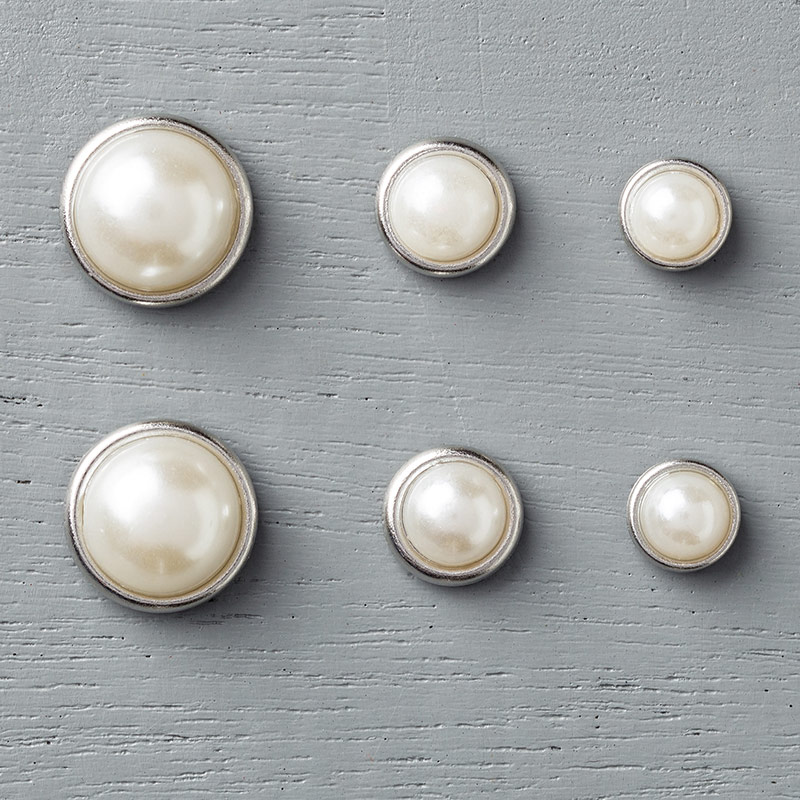
Metal Rimmed Pearls Item # 138394
Regular Price: $5.00 US
Discounted Price: $3.75 US


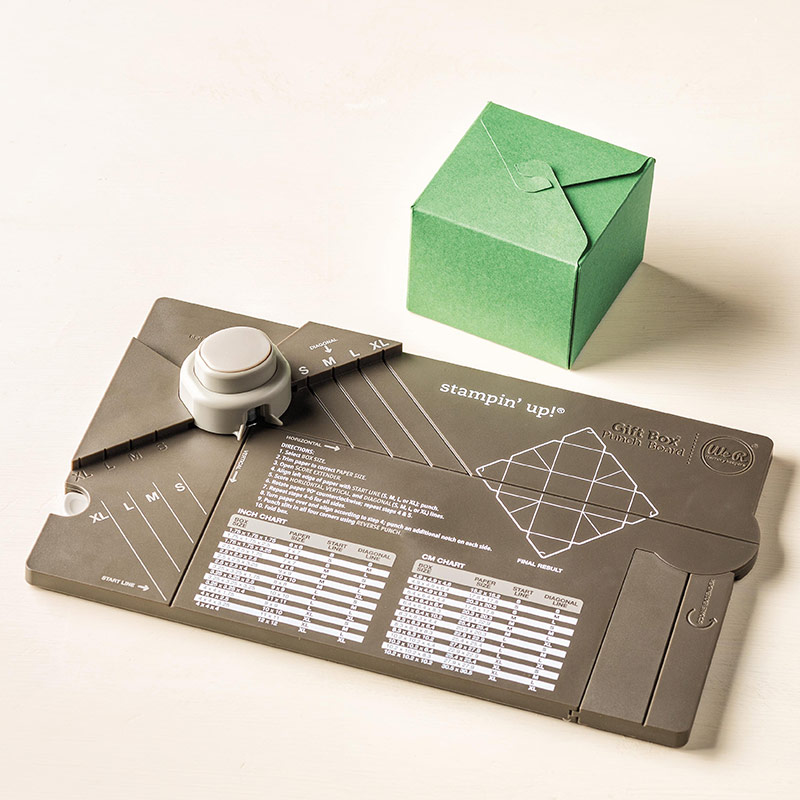
Gift Box Punch Board Item # 135863
Regular Price: $20.00 US
Discounted Price: $15.00 US


Hamburger Box Bigz Xl Die Item # 133724
Regular Price: $43.00 US
Discounted Price: $32.25 US

Monday, March 28, 2016

Where is Spring?

Flowering Fields Work of Art

Last week the box of flowers I ordered in February arrived for the "right time for planting in Wisconsin". But it's been cool and rainy lately, so I planted some flowers in my studio instead.

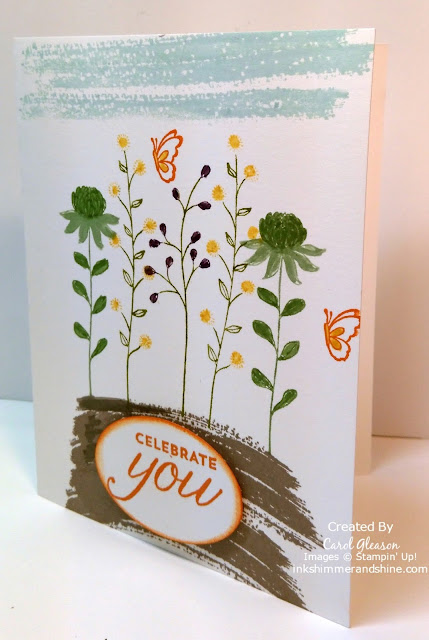
Flowering Fields with Work of Art
Flowering Fields
This was my first chance to play with the Stampin' Up! Sale-a-Bration Flowering Fields stamp set, and it was so much fun! 

To create this card:

You can still earn the Flowering Fields stamp set by placing a $50 order (before tax and shipping) BEFORE MARCH 31st. Here's the link to get started. 


If your wish list is a bit longer, you can also get the matching Wildflower Fields Designer Series Paper in the Sale-a-Bration catalog on page 12.


Start growing your Flowering Fields today, and spring weather will arrive soon, even in Wisconsin!


Wednesday, March 23, 2016

Special Celebration Paper Pumpkin

Free Stamp Set
March is a big month for Paper Pumpkin–it's our third birthday and we just shipped our ONE MILLIONTH kit! To celebrate, we are sending an exclusive stamp set called All about Everything in ALL of the April Paper Pumpkin kits. We’re keeping the artwork a surprise, but we are sure you’ll love EVERYTHING about it! Sign up by April 10 to get in on the fun.


Oh, did I mention that there's also a special on the 3 month Paper Pumpkin subscription going on now?
Here's the deal:


See the Paper Pumpkin ordering page for details.


Tuesday, March 22, 2016

Time For Stampin' Up! Weekly Deals

Trio Punch and Other Weekly Deals

Just last week we had a little stamping get-together at my house and we used the Curvy Corner Trio Punch, along with the Sprinkles of Life stamp set to make this cheery birthday card. 

This week the punch is on sale in the Weekly Deals! So if it's on your wish list, now is a great time to grab it - and remember it's still Sale-a-Bration time, until the end of March. That means every $50 order before Tax & Shipping earns you a free product!

Sprinkles of Life birthday card

Weekly Deals

We hope you enjoy this week's Weekly Deals!
139683G


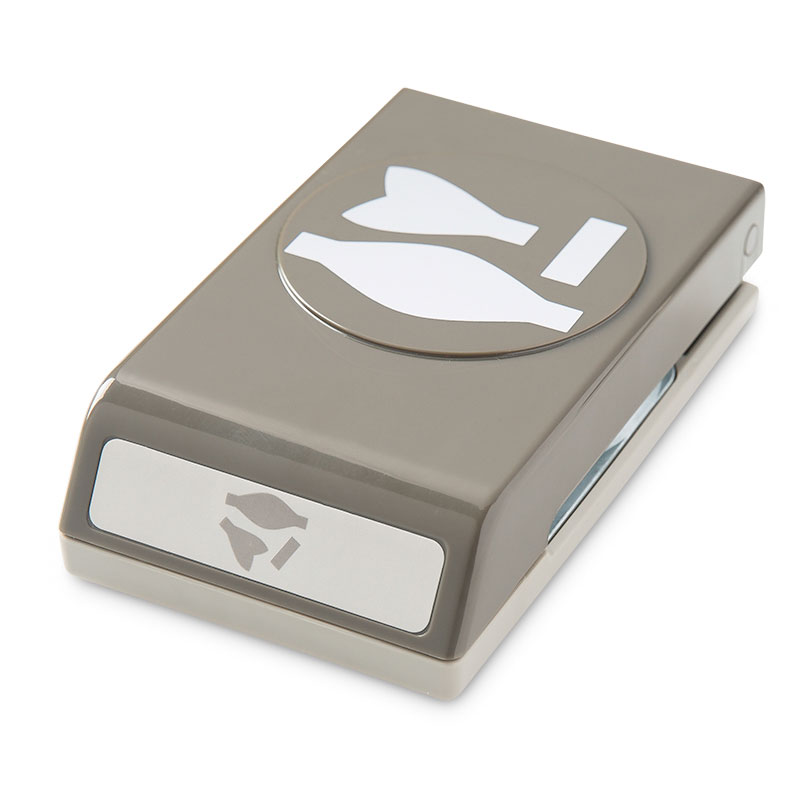
Curvy Corner Trio Punch Item # 139683
Regular Price: $20.00 US
Discounted Price: $15.00 US
Who doesn't love a few pearls?


Pearl Basic Jewels Item # 119247
Regular Price: $5.00 US
Discounted Price: $3.75 US


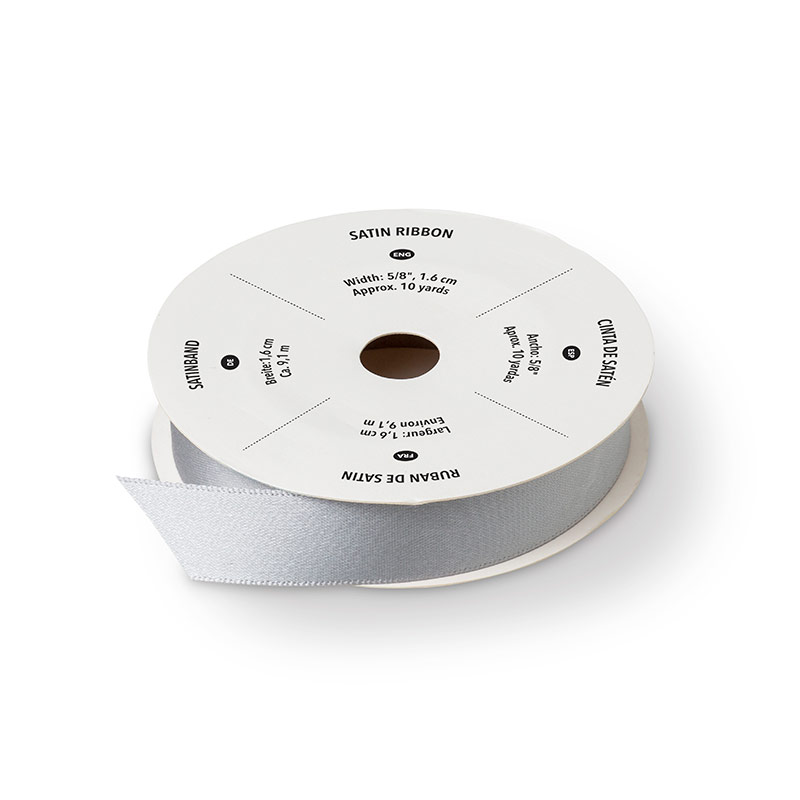
Silver 5/8" Satin Ribbon Item # 134548
Regular Price: $7.00 US
Discounted Price: $5.25 US


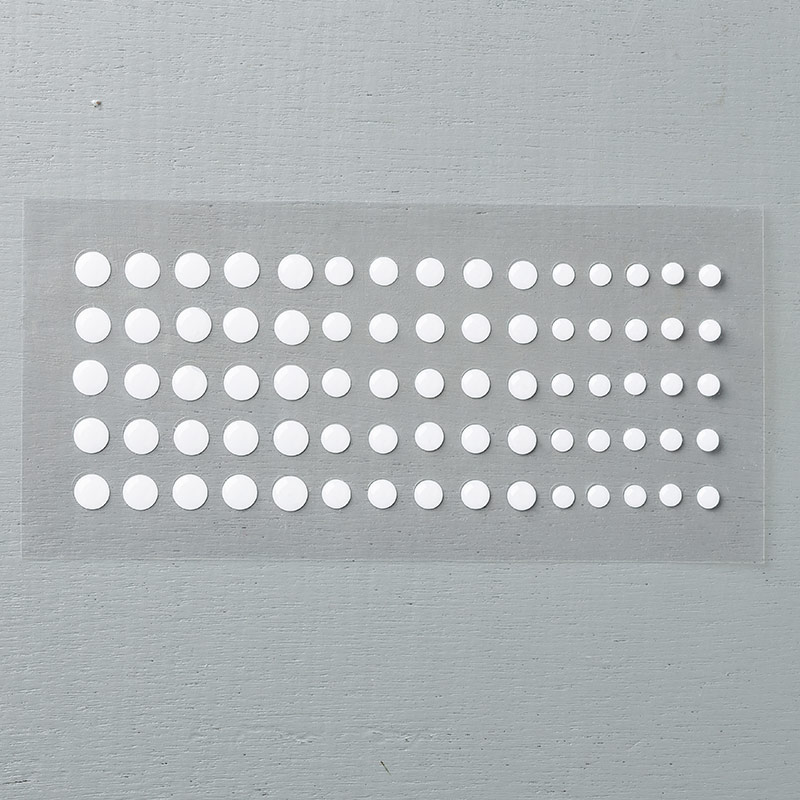
White Perfect Accents Item # 138416
Regular Price: $5.00 US
Discounted Price: $3.75 US


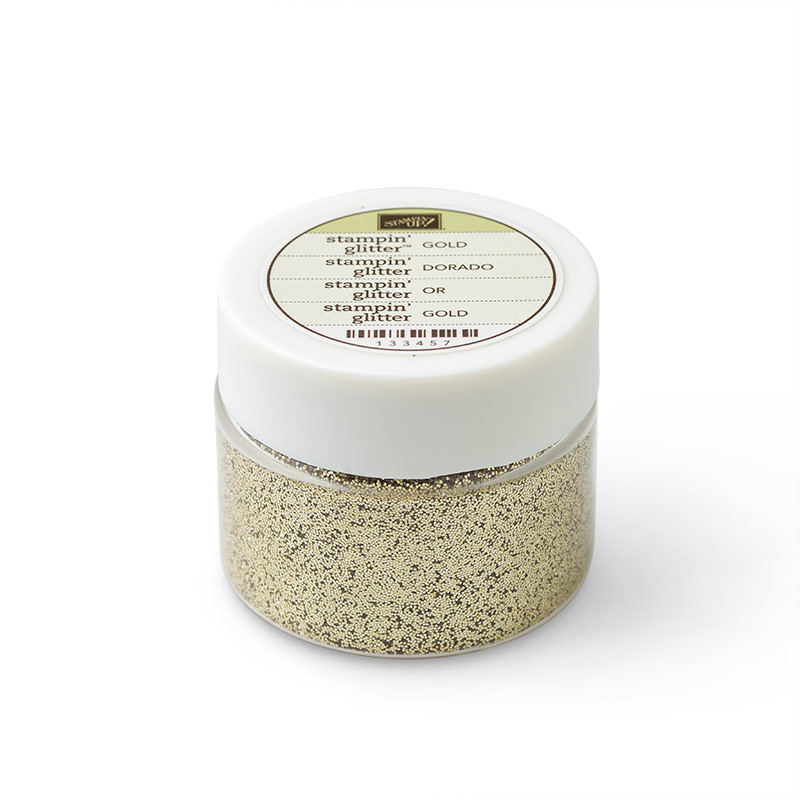
Gold Stampin' Glitter Item # 133457
Regular Price: $4.00 US
Discounted Price: $3.00 US


Let me know if you have any questions about these items. I'd be happy to help answer them!

Friday, March 18, 2016

With Sympathy

Lotus Blossom Sympathy

Unfortunately, we often have a need to send Sympathy cards. It seems that the older I get, the more often I need them.

This one uses the Lotus Blossom stamp again with a simple sentiment from Teeny Tiny Wishes.


Supplies

Paper:
Crisp Cantaloupe Cardstock (retired) 
Perfect Plum Cardstock
Whisper White Cardstock
Sweet Sorbet DSP scrap (retired)

Ink:
Crisp Cantaloupe ink (retired)
Old Olive Ink - dark stem color
Pear Pizzazz Ink - light stem color

Stamps:
Teeny Tiny Wishes stamp set - sentiment
Lotus Blossom stamp set (retired)

Tools:
Balloon Framelits Dies - for the bow


Adhesives:
Stampin 'Dimensionals
Snail Permanent Adhesive


Embellishments:
Regals Candy Dots
Crisp Cantaloupe Ruffled ribbon (retired)

Thursday, March 17, 2016

Quick is Good for Thank You Cards!

Make Great Quick Cards with Pretty Paper!


Sometimes you just need a quick card to say Thanks! Use your pretty paper and you're off to a great start. 


Thanks card with Hello You Thinlits dies and pretty paper

This card uses two colors of cardstock, one piece of pretty paper, and no stamps. 

Instead, the sentiment is die cut with the Big Shot and Precision Base Plate using the Stampin' Up! Hello You Thinlits, then attached using the Fine Tip Glue Pen. That's It!

The paper for this card is from Autumn Traditions (retired) in the 2009-2010 Stampin' Up! Annual Catalog. It's actually fall paper with leaves, but for some reason the color and little red speckles remind me of strawberries :) 

The weather has turned from sunny and warm back to blustery and cool and I'm getting anxious for those strawberries in my garden to get growin'!

Happy St. Patrick's Day!

Saturday, March 12, 2016

Simple Thank You

Thank You Blossoms and Butterfly

I'm rather late to the Lotus Blossom party that took place during Sale-a-Bration LAST YEAR! Nevertheless, I'm having a lot of fun with this three-step stamp!


Ink:
Mint Macaron
Versamark
Baked Brown Sugar (retired)

Stamps:
Butterfly Basics
Lotus Blossom (retired)

Paper:
Baked Brown Sugar cardstock (retired)


Friday, March 11, 2016

Endless Kindness

Kindness Lotus Blossoms

Tip: When you have a stamp set out, use it to make several cards before putting it away again. 

Here is the second of my Lotus Blossom fever cards.

Endless Kindness Lotus Blossom Card in Perfect Plum, So Saffron and Old Olive

To create this card:

Supplies

Ink:
Perfect Plum Used on Lotus Blossom stamp 1, then stamped off for stamp 2
So Saffron for Lotus Blossom stamp 3 
Old Olive for dark center of stem
Pear Pizzazz for outer stem

Paper:
Perfect Plum Cardstock, 1/4" x 4-1/2"
So Saffron Cardstock, 4-1/2" x11", folded in half.
Whisper White Cardstock, 3" x 4-1/2"
Tea for two DSP (retired), 3" x 5"

Stamps:
Lotus Blossom (retired)

Punches & Embellishments:
Curvy Corner Trio Punch to round two corners of Whisper White layer.
Brights Candy Dots

-----------------------------------------------------------------
BONUS: A very simple Thank You

Card Base: Crumb Cake, 5-1/2" x 8-1/2"
Lotus Blossom: Real Red, Watermelon Wonder and Calypso Coral
Stem: Garden Green
Early Espresso Cardstock layer, 3-3/8" x 4-5/8"
Garden Green Cardstock layer, 3-1/4" x 4-1/2"
Whisper White Cardstock layer, 3" x 4-1/4"
Thanks: Another Thank You in Watermelon Wonder ink

Thanks Lotus Blossom card in Watermelon Wonder, Calypso Coral, Garden Green and Early Espresso

Thanks for visiting my blog today


Thursday, March 10, 2016

You're In My Thoughts

Lotus Blossoms Made Me Think of You!

I think I have Lotus Blossom Fever. Is there such an illness?

I'm seriously having so much fun trying different color combinations with this three-step stamp! I don't know why it took me soooo long to ink up this stamp from Sale-a-Bration 2015!


Lotus Blossom You're In My Thoughts Card


To create this card:

  • The card base is So Saffron cardstock, 4-1/2" x 11", folded in half.
  • Add a layer of Cucumber Crush cardstock, 3-1/2" x 5".
  • The next layer is Designer Series Paper, cut to 3-1/4" x 4-3/4". This sample uses Sweet Sorbet (retired)
  • Cut a piece of Whisper White 3" x 4-1/2".
  • Stamp Your greeting in Calyspso Coral at the top. This sample uses You're in My Thoughts from A Dozen Thoughts.
  • Stamp the 3 step Lotus Blossom using Calypso Coral, Crisp Cantaloupe and So Saffron, leaving room for the stems.
  • Stamp the stem (2 stamps), using Garden Green for the center of the stem, then stamp off Garden Green before stamping the outer stem.
  • Stamp some Gorgeous Grunge dots in So Saffron at the bottom.
  • Adhere the Whisper white layer.
Voila!
There you have it - a simple pretty card that's flat and easy to mail, to let someone know you're thinking of them!

SUPPLIES:

Ink:
Garden Green
Crisp Cantaloupe (retired)

Stamps:
Gorgeous Grunge
Lotus Blossom (retired)

Paper:
So Saffron cardstock, 4-1/4" x 11"
Whisper White cardstock, 3" x 4-1/2"
Sweet Sorbet Designer Series Paper, 3-1/4" x 4-3/4" (retired)

Tools and Adhesives:
Snail Permanent Adhesive
Stampin' Trimmer

Wednesday, March 9, 2016

Get Well Soon Soup

Soup for Recovery

Now that you're feeling a little better, you can progress from yesterday's chicken soup, to a little tomato soup today.

Tomato Get Well Soon Soup


This card is very similar to yesterday's card, so I won't go through all the paper piecing steps again.

The differences are mainly in the colors and papers, as well as the corners on the soft sky layer are rounded with the Project Life Corner Rounder Punch, instead of the Curvy Trio Punch.

Here are the products used to create this version:


Whisper White Thick Cardstock 8-1/2" x 5", folded in half

Soft Sky cardstock 3-3/4" x 5", rounded with Project Life Corner Rounder Punch

Smoky Slate Cardstock 3-1/4" x 4-1/2", punched with the Curvy Corner Trio Punch, attached with Stampin' Dimensionals

Calypso Coral Cardstock for the soup - stamped on a scrap and trimmed with Paper Snips

Curvy Corner Trio Punch - for corners of Smoky Slate

Project Life Corner Rounder Punch for corners of Soft Sky

Get Well Soup  stamped three times - once on smoky slate, once on DSP, once on Calypso Coral

Jet Black Stazon ink for Soup images

Silver Foil Sheets for the banner

Itty Bitty Accents Punch Pack for the heart

Balloon Framelits Dies for the banner

Big Shot - fabulous machine for all those dies!

Soho Subway Designer Series Paper (retired) for the bowl


Hope you're recovering quickly!

Tuesday, March 8, 2016

Weekly Deals for Week of March 8 - 14

Stampin' Up! Weekly Deals March 8 - 14, 2016


Weekly Deals

For those of you who love a bargain, here's what's on sale this week:


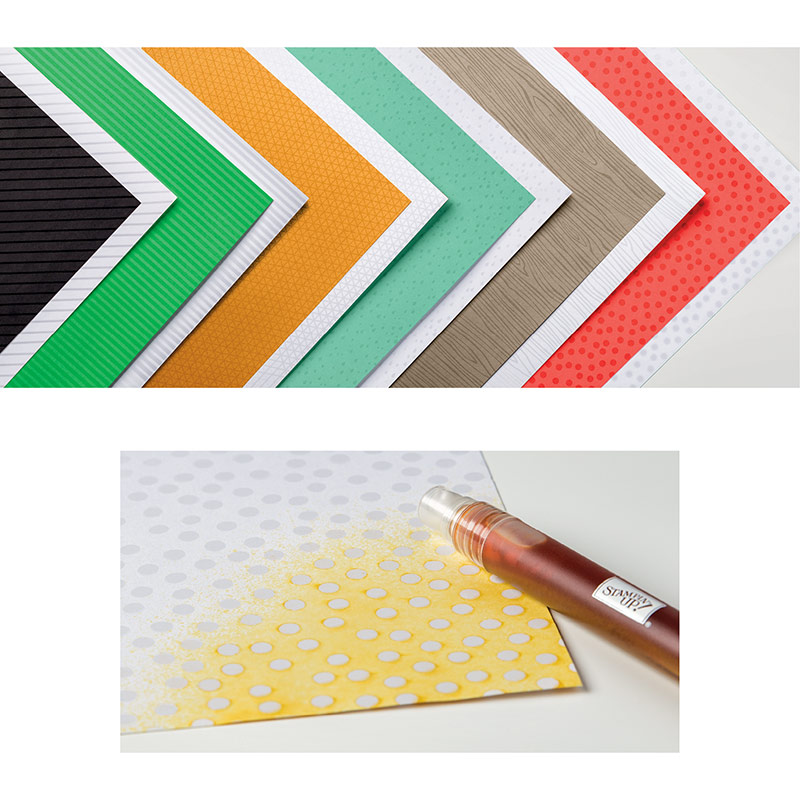
Color Me Irresistible Specialty Designer Series Paper Item # 138439
Regular Price: $13.00 US
Discounted Price: $9.75 US

Everyone needs a little bling!

Rhinestone Basic Jewels Item # 119246
Regular Price: $5.00 US
Discounted Price: $3.75 US


Bow Builder Punch Item # 137414
Regular Price: $18.00 US
Discounted Price: $13.50 US


Handpicked Framelits Dies Item # 137361
Regular Price: $25.00 US
Discounted Price: $18.75 US


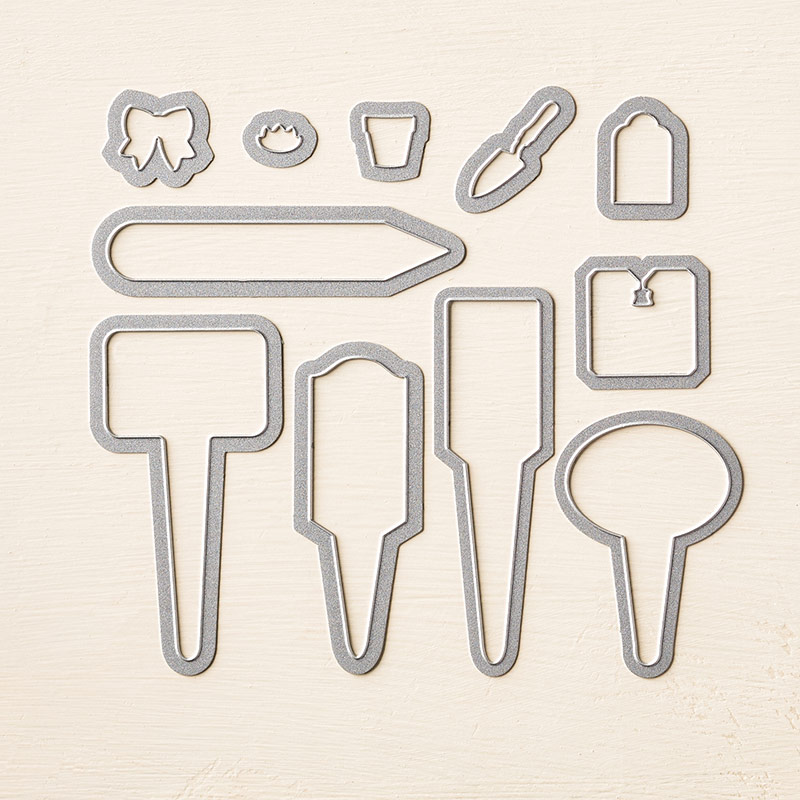
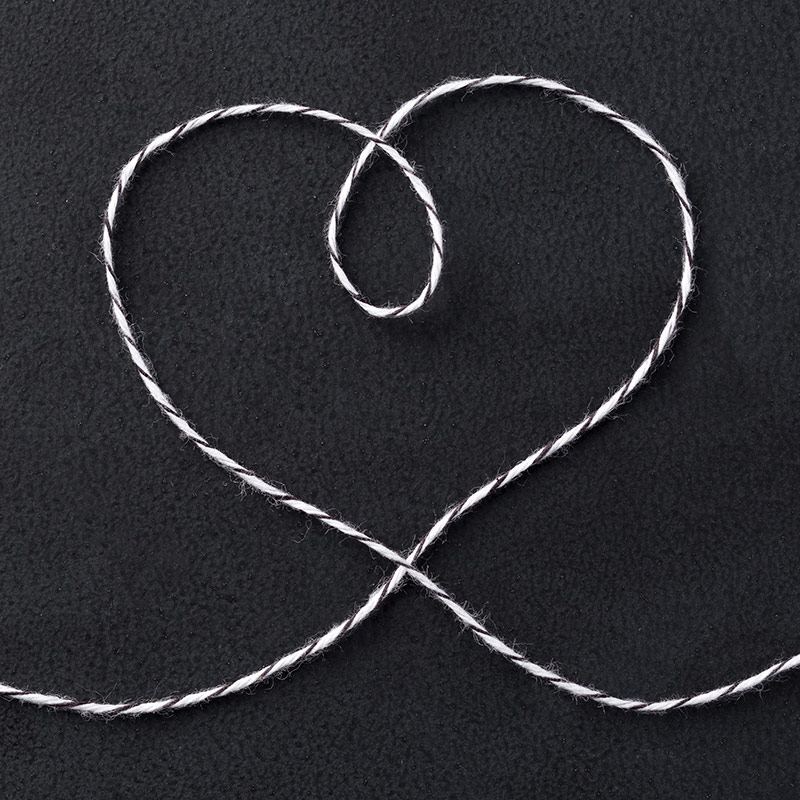
Basic Black Baker'S Twine Item # 134576
Regular Price: $3.00 US
Discounted Price: $2.25 US

Feelin' Under the Weather?

Get Well Soon with Get Well Soup!

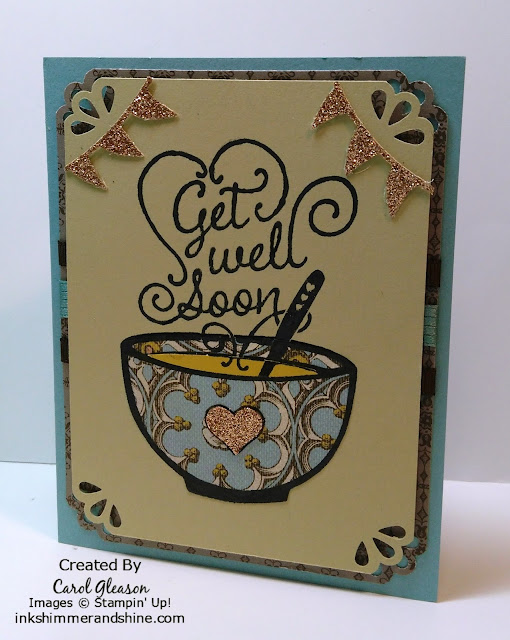
Get Well Soup

Many of the Stampin' Up! items on this card are retired, but feel free to substitute what you have to make this card your own. Sometimes older products and stamps need love too!

My favorite part of this card is the pretty corners made with the Curvy Corner Trio punch, which is still available! Click the items in the directions below for more information on the products used.


To create this card:
  • Start with an 8-1/2" x 5-1/2" piece of Baja Breeze (retired) or other light blue cardstock.
  • Cut a 5-1/4" x 4" piece of Early Espresso from the Neutrals Patterns Designer Series Paper Stack (retired), or use Early Espresso cardstock.
  • Add ribbon to the Early Espresso piece, if desired. This sample shows the Lost Lagoon Stitched Satin and 1/4" Early Espresso Grosgrain ribbon. 
  • Cut a 3-3/4" x 5" piece of River Rock cardstock.
  • Use the Curvy Corner Trio punch to make pretty corners on the Early Espresso and River Rock layers.
  • Attach the Early Espresso layer to the card base.
  • Stamp the Get Well Soup stamp in Jet Black Stazon ink on the River Rock layer. Then stamp the bowl on Soho Subway DSP and the soup on Summer Starfruit. Carefully cut out the soup piece from Summer Starfruit with your Paper Snips and the bowl piece from the Soho Subway DSP.
  • Layer the cut out bowl and soup onto the stamped image on the River Rock piece, lining up the images. Fill in the black outline with a Basic Black Stampin' Write marker, if needed.
  • Attach the River Rock layer to the Early Espresso layer with Stampin' Dimensionals.
  • Punch a heart from Gold Glimmer paper with the Itty Bitty Accents Punch Pack and adhere over the heart on the bowl. Outline the heart with an Early Espresso Stampin' Write marker if you want it to stand out a little more.
  • Die cut two gold glimmer banners with the Balloon Framelits. Tip: the framelits dies cut through glimmer paper easier if you place the framelit on the non-glittered side of the paper. Trim the banner to fit the corners of the River Rock layer and attach them with Mini Glue Dots.
Now you have some Get Well Soup to send to a friend! 

Follow my blog with Bloglovin

Monday, March 7, 2016

Happy Birthday from Paper Pumpkin

Party Mood

Balloons and streamers help set a party mood, right? 

Happy Birthday Fringed card

The bright colors of the Stampin' Up! Cherry on Top paper stack, and the Fringe Scissors create a quick and cheery birthday greeting!

To create this card:
  • Start with an 8-1/2" x 5" piece of Thick White Cardstock, folded in half.
  • Cut a piece of Cucumber Crush cardstock to 2" x 4-1/4" and use your fringe scissors to quickly make a fringed edge, leaving enough solid card stock to adhere it to the card about 2-1/2" from the bottom edge. 
  • Next cut a piece of Bermuda Bay cardstock to 1-1/2" x 4-1/4", cut the fringe, and adhere it just above the Cucumber Crush fringe.
  • Cut a 1" x 4-1/4" piece of your favorite Cherry on Top Designer Series Paper and place it above the Bermuda Bay fringe.
  • For the banner, stamp a greeting in Watermelon Wonder on a piece of Whisper White cardstock. This sample uses the Stampin' Up! May 2015 Birthday Bundle set from Paper Pumpkin.
  • Use a Banner Framelit and your Big Shot to die cut the greeting, then sponge the edges of the banner with Watermelon Wonder ink and attach it with Stampin' Dimensionals.
  • Die cut a little balloon banner from the Cherry on top DSP with the Balloon Framelits, and cut a Watermelon Wonder balloon as well. For this card, both the balloon in the framelit set and the Watermelon Wonder balloon in the Paper Pumpkin kit were a little too large, so I used the bag from the Birthday Bundle Paper Pumpkin as a stencil to trace a balloon, then cut it out with paper snips. 


Paper Pumpkin Birthday Bundle bag
  • Add the banner to the balloon, tie a piece of thick white baker's twine or white yarn to the balloon, then attach the balloon to the card with dimensionals.
  • Use a Mini Glue Dot to attach the other end of the baker's twine behind the fringe.
Celebrate!
Let the party begin!

Saturday, March 5, 2016

Get Your Party Pants On!

Party Pants Stamp Set by Stampin’ Up!

It's FREE With a Qualifying Product Purchase !


Looking for a reason to party? 

It's party time at Stampin' Up!, so you can choose a free item from the Sale-a_Bration flyer or Sale-a-Bration catalog with EVERY $50 order (before tax and shipping). NOTE: Some items have limited availability.

Get together with your friends and create a party order. When all your goodies arrive, you can share them and party again, while making your cards and crafty projects!

This Party Pants Stamp Set is one of the sets you can choose as a free item. It has several cute birthday greetings like Cake Time! and Woo Hoo, as well as a Thinking of You greeting, but my favorite is Put Your Party Pants On!


Visit my online store anytime to get your party items and get the party started!

Sale-a-bration ends March 31, 2016.

Friday, March 4, 2016

Have a Beautiful Birthday

Spring is in the Air

In my craft room at least, spring is in the air. We still have snow outside, but the temperature is supposed to reach 60 degrees in a few days, so I have spring fever!

Birthday Blossoms card
Birthday Blossoms for Spring Fever!
While flipping through the Stampin' Up! annual catalog on page 8, I came across this sample and just had to create my own version.

The main features I cased were the tag with flowers and stamping background images on the card base. 

To create this card:

  • Start with an 8-1/2" x 5-1/2" piece of Tip Top Taupe cardstock, folded in half.
  • Stamp some background images in Versamark ink and heat emboss them with Silver embossing powder. This sample uses images from the Stampin' Up! Butterfly Basics and Birthday Blossoms stamp sets.
  • Very subtly, the netting image from the Butterfly Basics set can be stamped in Tip Top Taupe ink behind the white tag as well for a little extra background color. 
  • Cut a 4-1/2" x 2-3/4" piece of Whisper White cardstock.
  • Use the Stampin' Up! Trio punch to create the pretty corners on the bottom edge.
  • Our color pallette: 
    color Pallette includes Daffodil Delight, Pear Pizzazz, Watermelon Wonder, Tip Top Taupe and So Saffron.
  • Stamp leaves in Pear Pizzazz ink at the top and bottom, leaving room for your sentiment in between.
  • Stamp the greeting in Watermelon Wonder. I find myself reaching for this cheery color quite often, especially during the dreary winter weather.
  • Stamp one flower in Watermelon Wonder, one in Daffodil Delight (another color to brighten your day) and one in So Saffron, using either the stamp in the Birthday Blossoms set or one from the Flower Shop stamp set. Slightly curl the edges of the leaves with a Bone Folder or pencil.
  • Punch out the flowers with the Pansy Punch, which coordinates with both flower stamp sets. It can be purchased separately, or bundled with the Flower Shop stamp set at a 15% discount.
  • Attach the flowers to the white tag with Stampin' Dimensionals.
  • If desired, add tiny Basic Pearls to the center of the flowers for a little extra prettiness!
  • Finally, send your card off to someone celebrating a birthday this week! Shhhh - don't tell her I told you, but it's my daughter's birthday on Sunday, March 6th!

Thursday, March 3, 2016

Shaker Cards For Boys Too!


Baby Boy Congratulations!

Today's card is a slight variation of the Baby Girl Shaker card I showed you yesterday. It omits one layer of cardstock, and the ribbon is near the top of the card, instead of at the bottom. 

It's easy to make lots of variations using the same basic design, with different colors, papers, inks, and punches or dies.


To create this card:
  • Start with an 8-1/2 x 5-1/2" piece of Crushed Curry cardstock, folded in half. 
  • If using ribbon, adhere it to the card base about 2" from the top of the card. Here I used a piece of Pool Party ribbon.
  • Add a 3-1/2"x 3-1/2" piece of patterned paper on top of the ribbon. This sample shows Stampin' Up! Lullaby Designer Series Paper (DSP), which is now retired. 
  • Cut a 3" x 3" piece of Whisper White cardstock, but don't adhere it yet.
  • Stamp the onesie and booties in Coastal Cabana(retired) or other coordinating ink, with the Something for Baby stamp set, and die cut them using Baby's First Framelits, or fussy cut them. Here I layered the duck die and onesie die on top of the DSP and cut them together.
  • Adhere the onesie and booties to the white cardstock.
  • Add a scrap of window sheet to the back of the onesie.
  • Add a shaker frame or dimensionals to the window sheet to frame the duck opening. 
  • Add a small pile of sequins or confetti in the center of the DSP layer, in the area beneath the onesie duck opening. **The Metallics Sequin assortment is on sale this week!
  • Use Stampin' Dimensionals to adhere the corners of the white cardstock to your card. **If you're using a shaker frame, you'll need to stack two dimensionals together for the corners to be the same height as the frame.
  • Stamp the congratulations greeting from Made with Love in Soft Suede ink on a small scrap of Whisper White cardstock and punch it out with the Washi Label punch. 
  • Punch out another scrap of Soft Suede cardstock with the Washi label punch and adhere the two Washi label pieces together. Then adhere them to the card base.
See how easy it is to switch up your colors and make slight changes to the design to make each card unique!


Wednesday, March 2, 2016

Baby Girl Congratulations Card

Congratulations for your Baby Girl!


Yesterday I shared a birthday shaker frame card with you, and today I have a quick baby card butterfly shaker.

Pink Onesie with butterfly shape shaker filled with sequins.

Isn't that a cute onesie for a new baby girl?
To create this card:
  • Start with an 8-1/2 x 5-1/2" piece of Naturals Ivory(shown) or Very Vanilla cardstock, folded in half. 
  • Add a 4"x 4" piece of patterned paper. This sample shows Stampin' Up! More Amore Designer Series Paper (DSP), which is now retired.
  • Next add a 3-1/2" x 3-1/2" piece of coordinating solid color cardstock (Strawberry Slush shown) on top of the DSP.
  • Cut a 3" x 3" piece of Whisper White cardstock, but don't adhere it yet.
  • Stamp the onesie and booties in Strawberry Slush or other coordinating ink, with the Something for Baby stamp set, and die cut them using Baby's First Framelits, or fussy cut them.
  • Adhere the onesie and booties to the white cardstock, then punch or die cut a small shape in the middle of the onesie. Here I used the Bitty Butterfly punch and punched through both layers.
  • Add a scrap of window sheet to the back of the onesie.
  • Add a shaker frame or Stampin' Dimensionals to the window sheet to frame the butterfly opening. 
  • Add a small pile of sequins or confetti in the center of the Strawberry Slush layer, in the area beneath the onesie butterfly opening. 
  • ** The Metallics Sequin Assortment is on sale this week! 
  • Use Stampin' Dimensionals to adhere the white cardstock to your card. **If you're using a shaker frame, you'll need to stack two dimensionals together to be the same height as the frame.
  • Stamp the greeting from Made with Love in Coastal Cabana (retired, but I love it!) on a small scrap of Coastal Cabana cardstock and punch it out with the Washi Label punch
  • Punch out another scrap of Very Vanilla cardstock with the Washi label punch and adhere the two Washi label pieces together.
  • Use a piece of ribbon(Primrose Petals ribbon shown) or cardstock to embellish the bottom of the card and add your sentiment on top of the ribbon with dimensionals.
Questions? Leave me a comment. I'd love to hear from you!


Tuesday, March 1, 2016

Stampin' Up! Weekly Deals March 1 - March 7

Weekly Deals for March 1 - March 7, 2016

Are these the deals you've been waiting for?

138378G
Fun projects for when you don't feel like coming up with your own designs.


Tin Of Cards Project Kit Item # 138378
Regular Price: $27.00 US
Discounted Price: $20.25 US
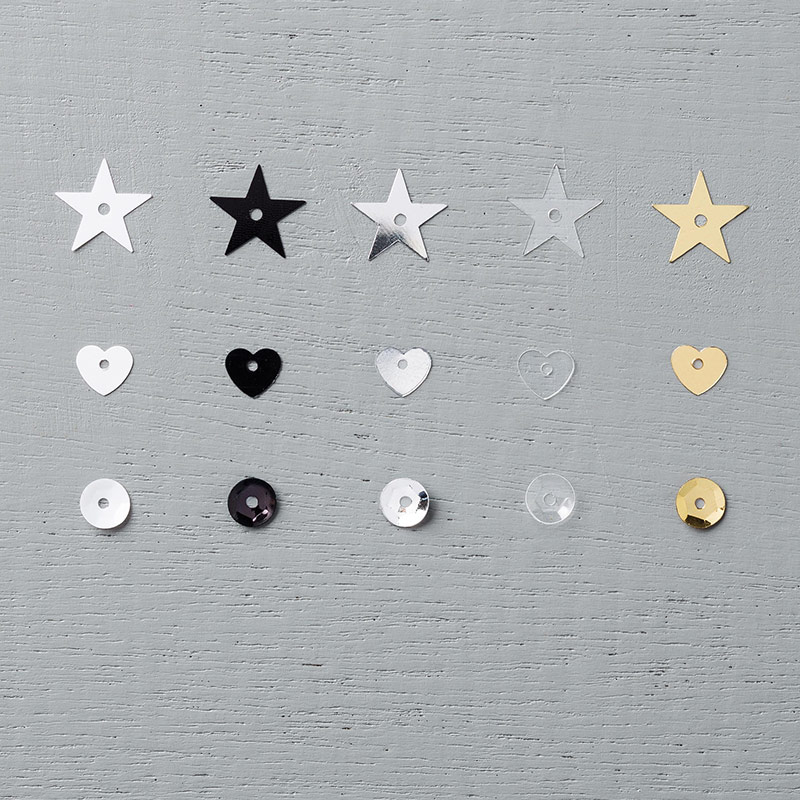
Great for all of your shaker cards!


Metallics Sequin Assortment Item # 138390
Regular Price: $5.00 US
Discounted Price: $3.75 US
Make your tags fancy with this punch.


Ornate Tag Topper Punch Item # 137416
Regular Price: $23.00 US
Discounted Price: $17.25 US


Fun Frames Textured Impressions Embossing Folders Item # 133727
Regular Price: $8.50 US
Discounted Price: $6.38 US


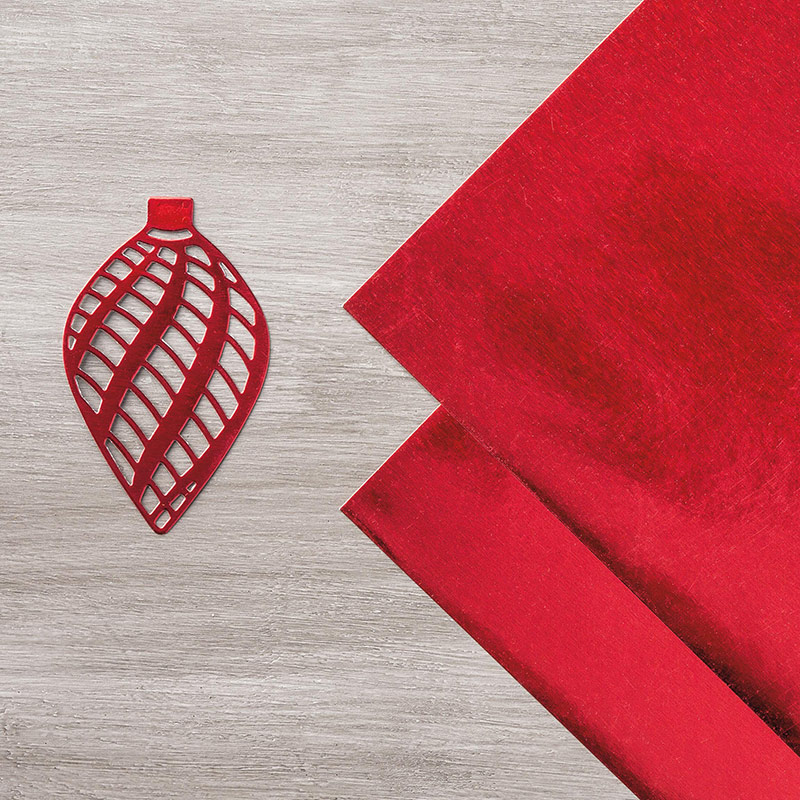
Red Foil Sheets Item # 139607
Regular Price: $4.00 US
Discounted Price: $3.00 US