Be sure to check what's on the Year End Sale, going on now through January 3, 2017!


Papercrafting Inspiration to Make Life Sparkle!


 |


|
Description
|
Catalog/Page
|
Item #
|
Price
|
|
Paper Trimmer (includes Cutting & Scoring blades)
|
Ac/189
|
126889
|
$30
|
|
Whisper White card stock
|
AC/170
|
100730
|
$9 (40 sheets)
|
|
Or Thick
White Card stock
|
AC/175
|
140272
|
$7 (24 sheets)
|
|
Scallop Tag Topper Punch
|
AC/186
|
133324
|
$23
|
|
Jar of Cheer stamp set
|
HOL/25
|
142161
|
$21
|
|
Clear Glass Blocks
|
AC/183
|
Various
|
$4-$12 each or bundle
|
|
Cherry Cobbler Ink
|
AC/170
|
126966
|
$6.50
|
|
Totally Trees stamp set
|
HOL/48
|
142198
|
$26
|
|
Mint Macaron Ink
|
AC/169
|
138326
|
$6.50
|
|
Embossing Buddy
|
AC/181
|
103083
|
$6
|
|
Versamark Ink
|
AC/180
|
102283
|
$8.50
|
|
Copper Embossing Powder
|
AC/181
|
141636
|
$5
|
|
Heat Tool
|
AC/181
|
129053
|
$30
|
|
5/8” Organza Ribbon
|
AC/178
|
114319
|
$6
|
|
Stampin’ Dimensionals
|
AC/182
|
104430
|
$4 (300)
|
|
Big Shot
|
AC/190
|
143263
|
$110
|
|
Banner Framelits
|
AC/193
|
132173
|
$27
|
|
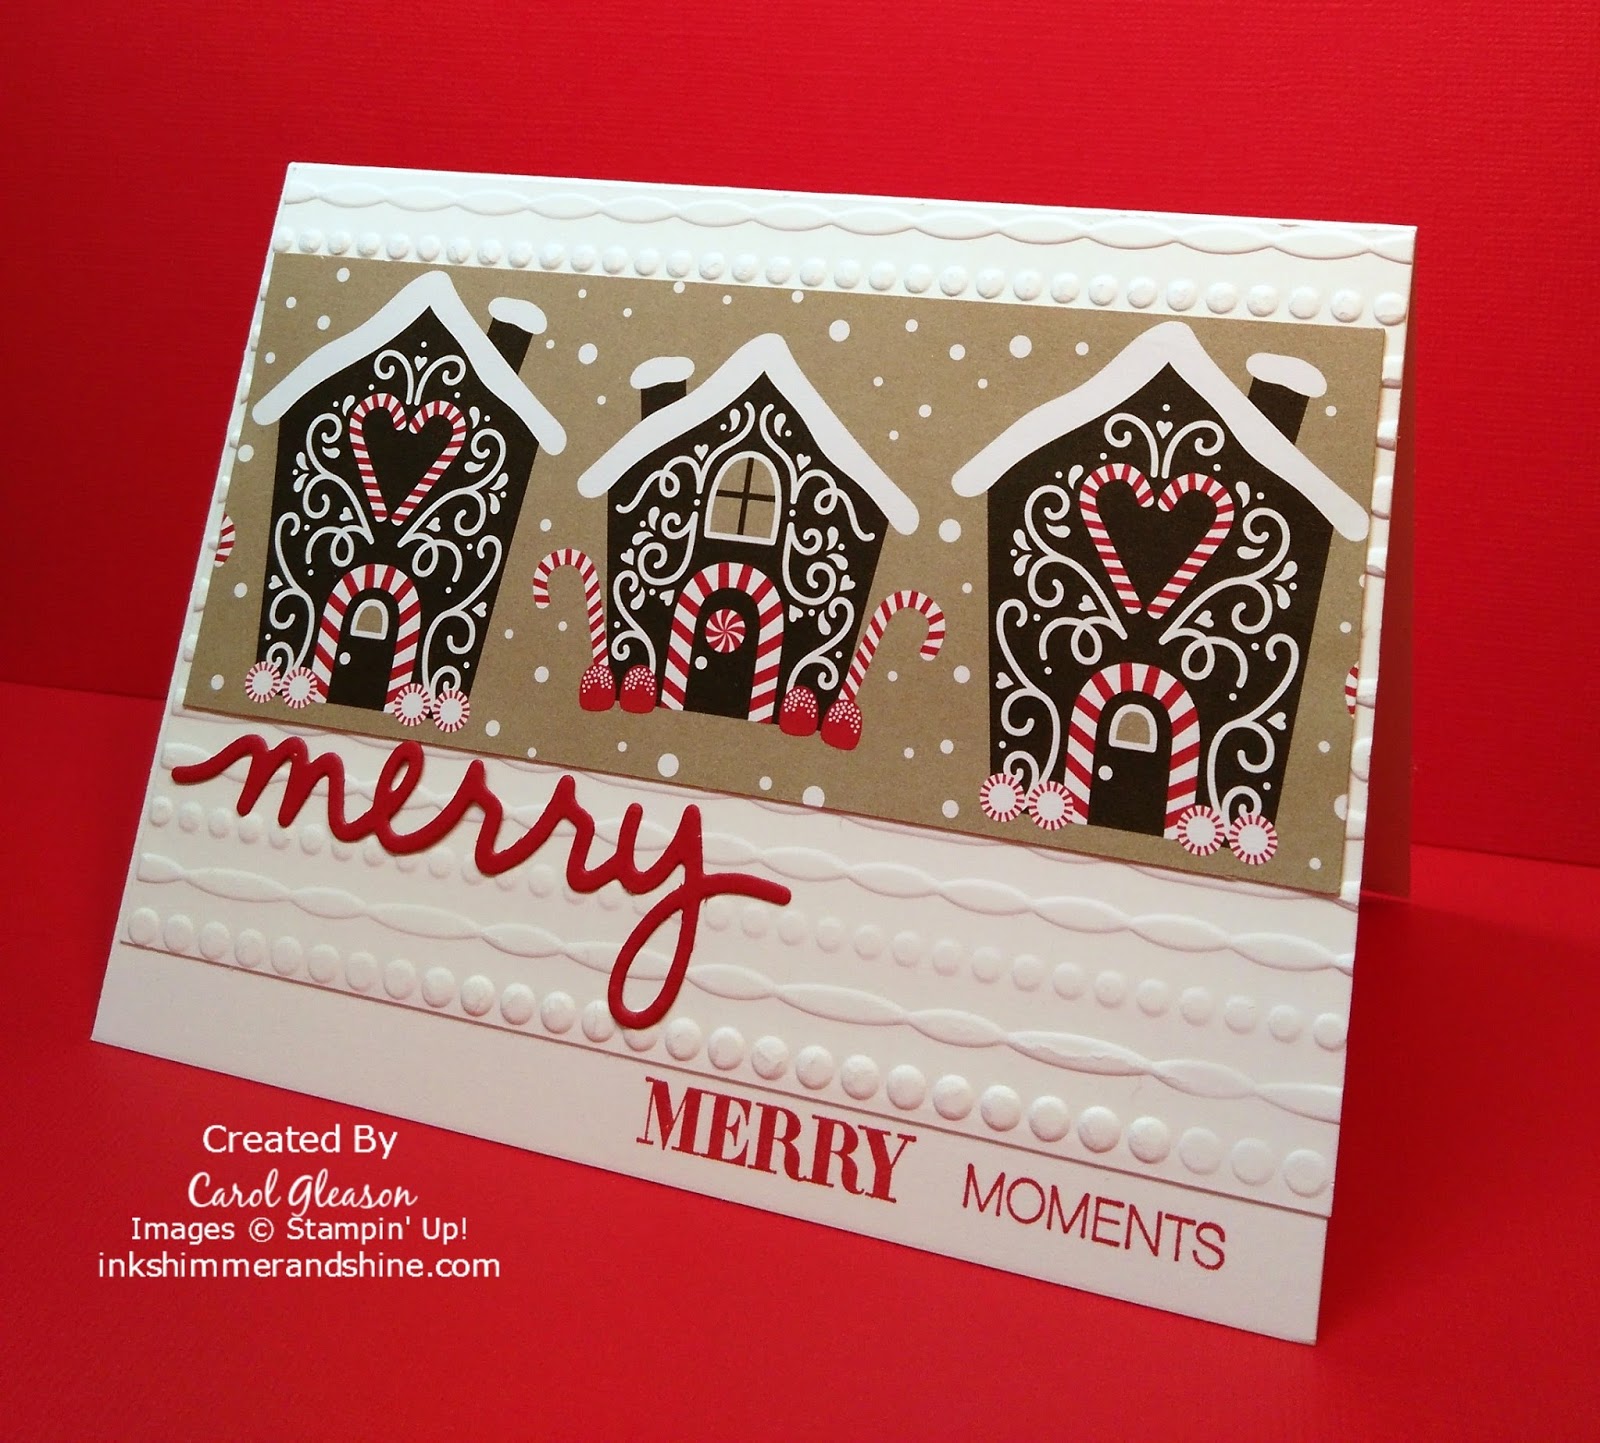
This Christmas Designer Series Paper
|
AC/172
|
141628
|
$13 (24 sheets)
|
|
Kraft or Glassine Bags
|
AC/176
|
Various
|
|